Service

Storm shelter excavation

Services  /  Storm shelter excavation

Storm Shelter Excavation: Planning a Safe, Accurate Dig

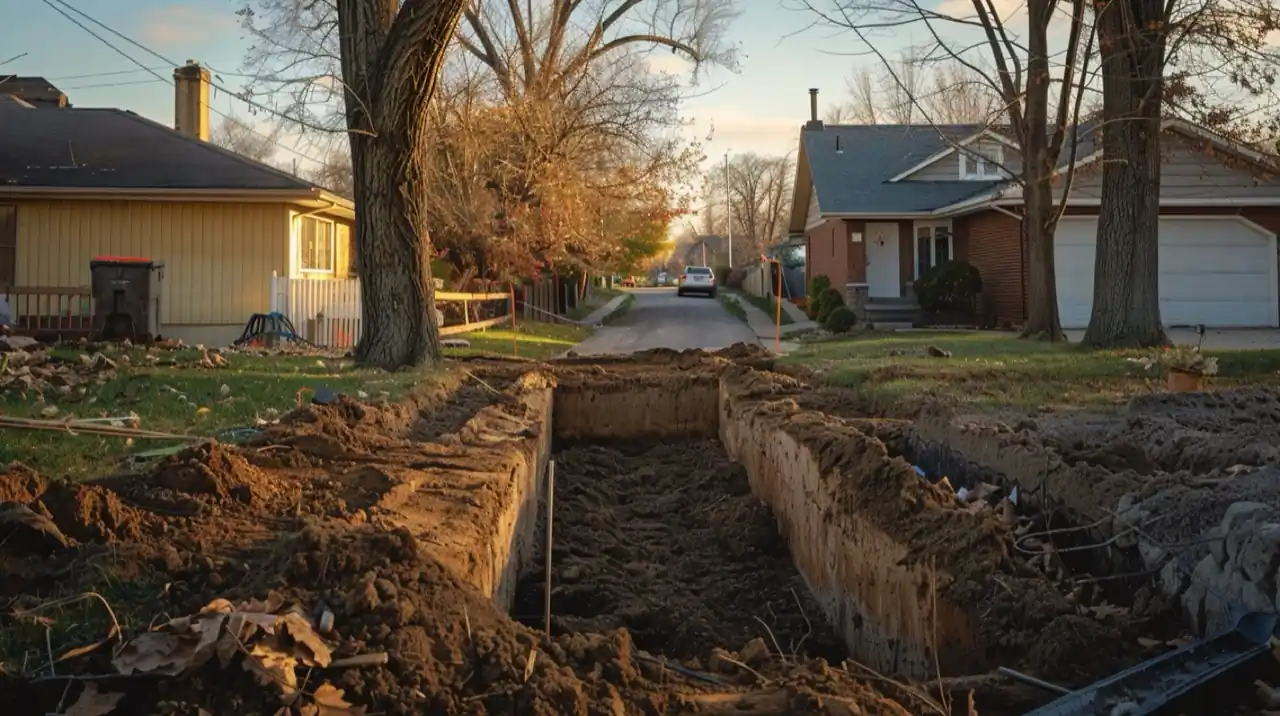
A storm shelter is only as good as its installation. The excavation must match the shelter dimensions, allow for safe access, and support proper drainage and backfill.

This guide explains what storm shelter excavation typically involves and how to plan the work.

What storm shelter excavation includes

  • Locating the shelter footprint and access path
  • Excavating to the correct depth and dimensions
  • Managing spoils and keeping the site organized
  • Preparing the base for the shelter (as required by the shelter system)
  • Backfill coordination after installation
  • Rough grading to shed water away from the shelter area

Key considerations

Drainage

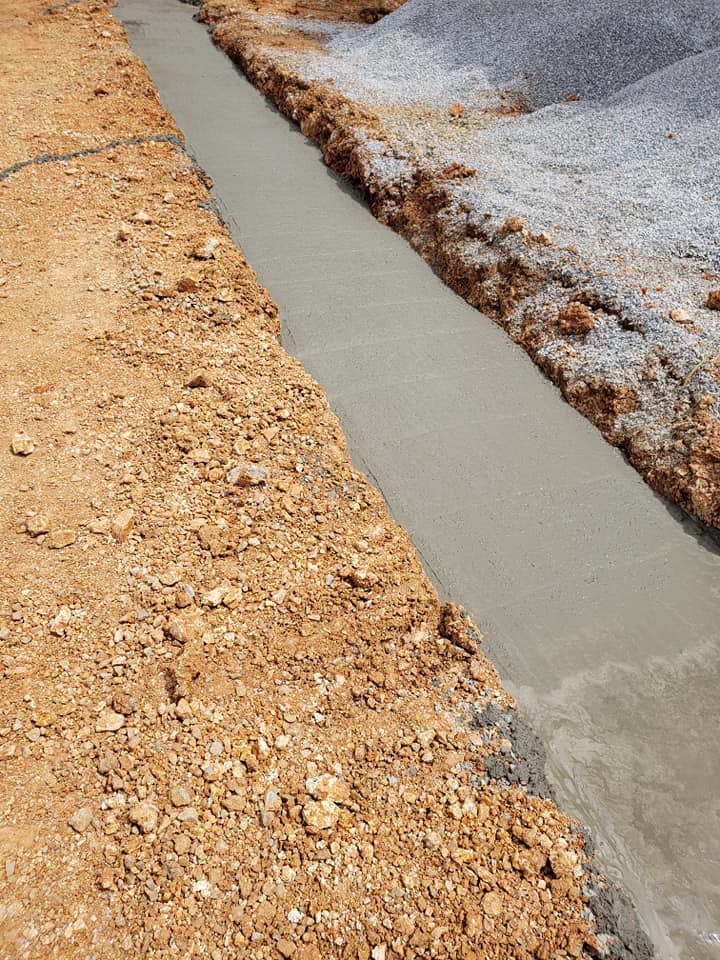
Storm shelters should not become water collection points. Grading and drainage planning matter.

Access and safety

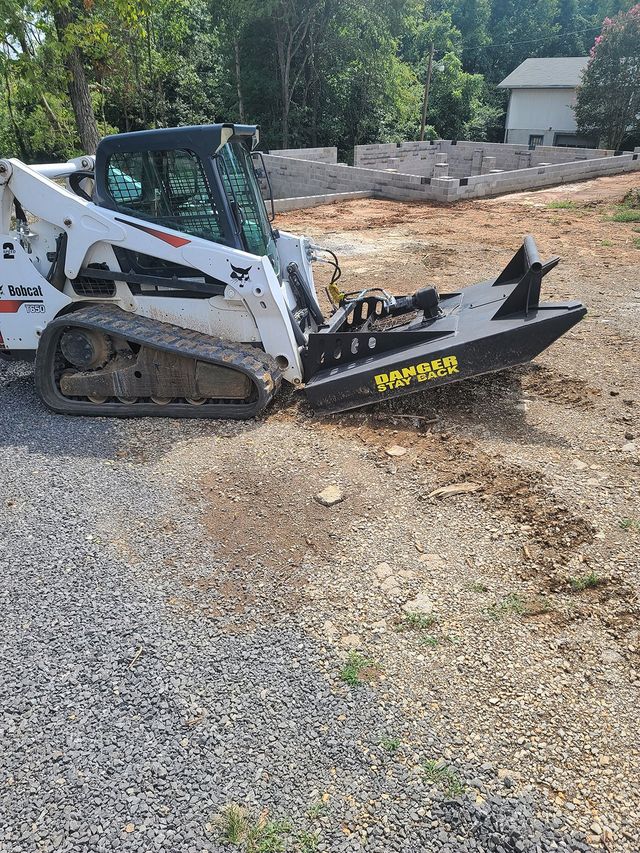
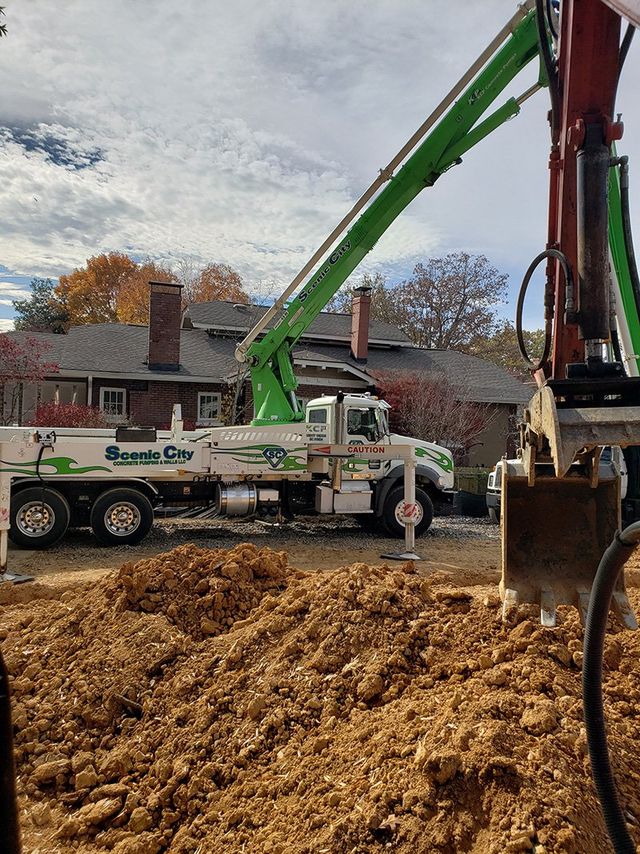
The excavation area should allow equipment and installers to work safely.

Soil conditions and stability

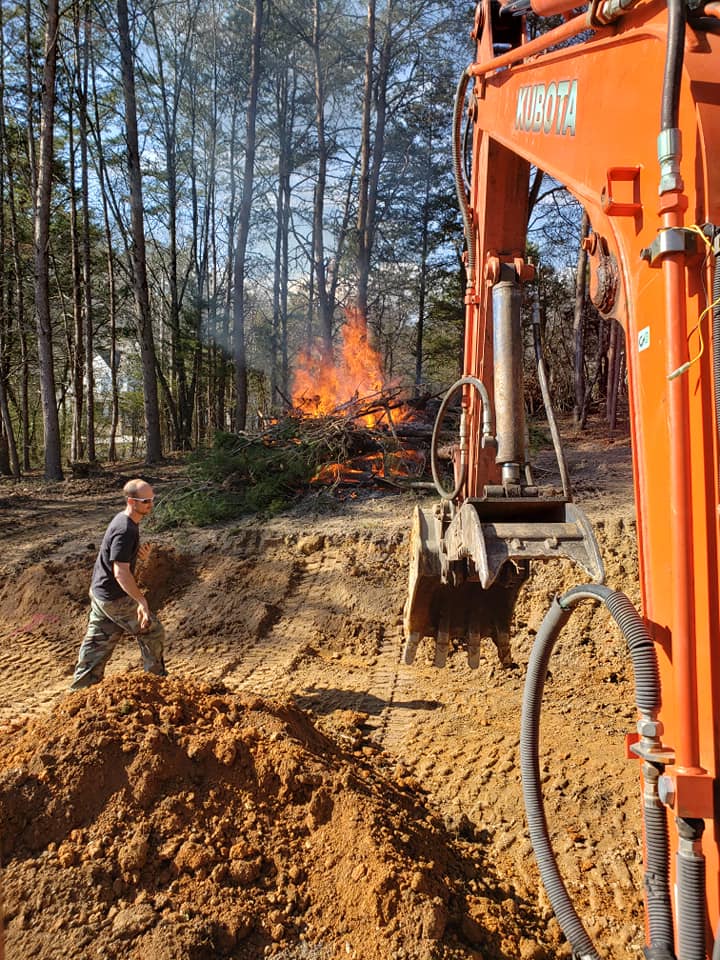
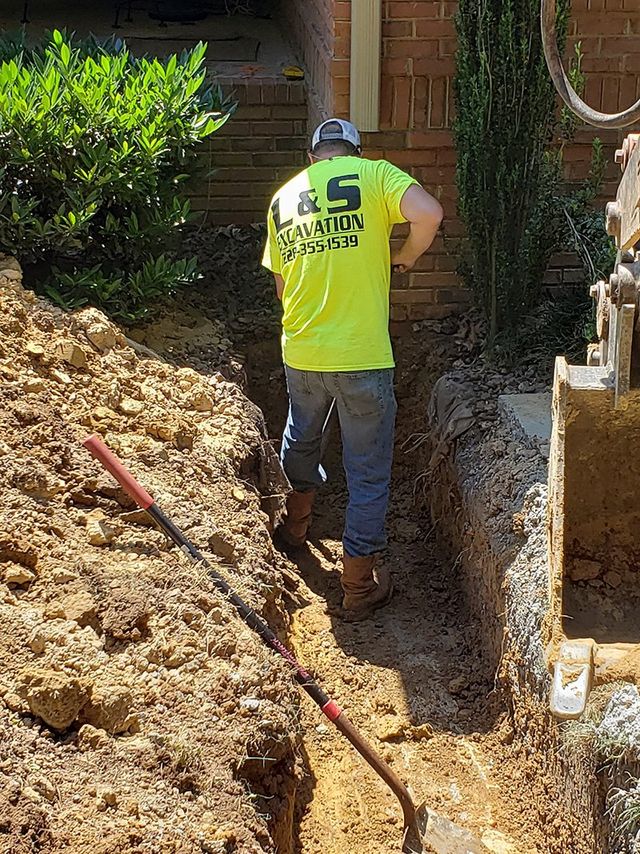
The walls of an excavation can be unstable depending on soil moisture and type. Plan the sequence carefully.

Permitting and placement

Requirements vary by location and shelter type. Keep guidance general and confirm locally.

The process

  1. Plan location and access.
  2. Utility locate.
  3. Excavate to spec.
  4. Prepare base (per system needs).
  5. Coordinate install and backfill.
  6. Final grading for drainage.

Recent work

Service areas

Available across the Greater Chattanooga area.

FAQs

Common questions, straight answers.

How long does storm shelter excavation take?

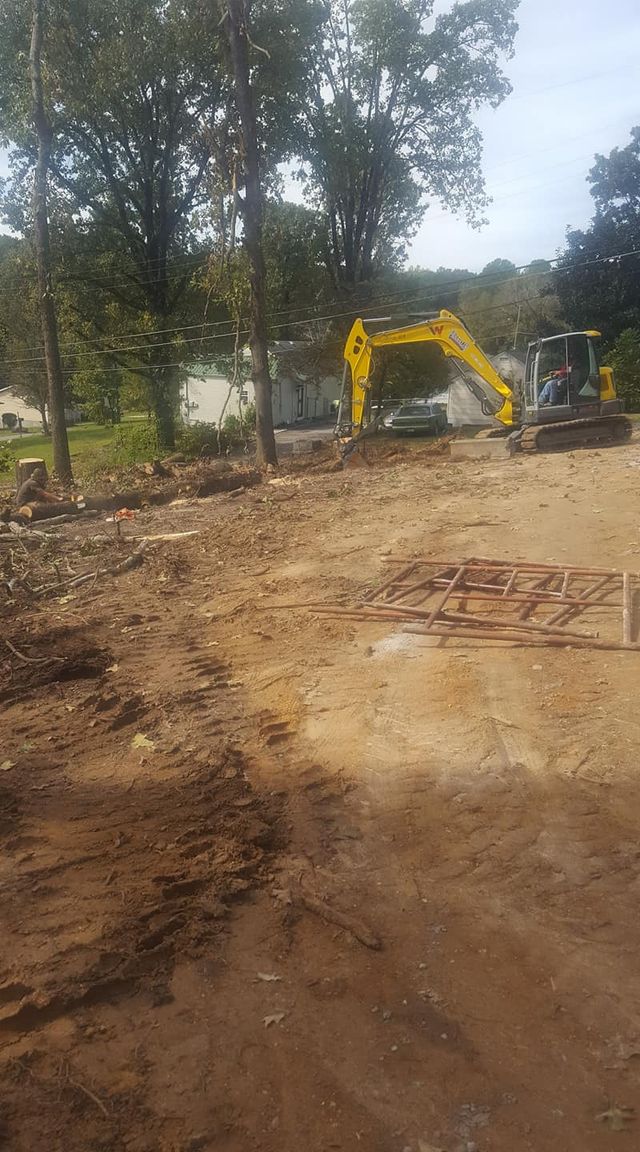
Often 1–2 days for excavation, depending on access and soil/rock conditions.

Can storm shelters be installed on sloped lots?

Often yes, but the placement and access plan becomes more important.

Do you handle drainage grading?

Grading to shed water is a common part of the overall scope.

Ready to break ground?

Let's talk about your site.

Request an estimate Free walk-through. · Written estimate. · No pressure.